To produce the shelf content so it is ready to be published to a SharePoint site ClickLearn must produce ASPX files rather than HTML files.

Shelf to SharePoint
MenuThis must be setup in the preferences of the Shelf.
In this example we will setup and produce the shelf named ClickLearn Learning Portal.
7.1.1 Preferences
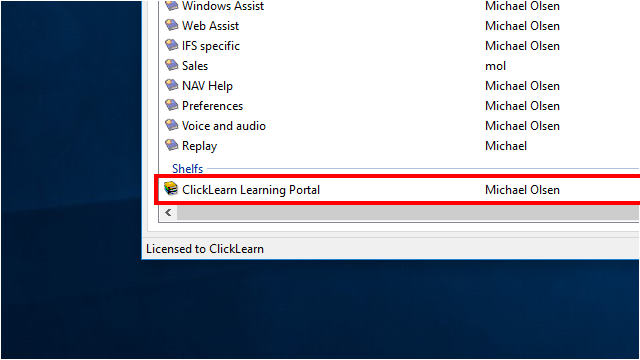
Click on the list element ClickLearn Learning Portal.
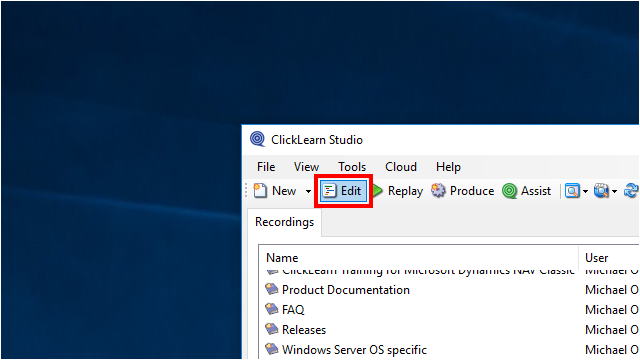
Click on the button Edit.
You may also press Alt+D.
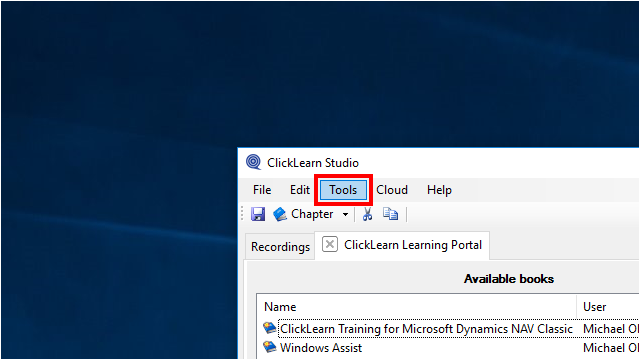
Click on the menu Tools.
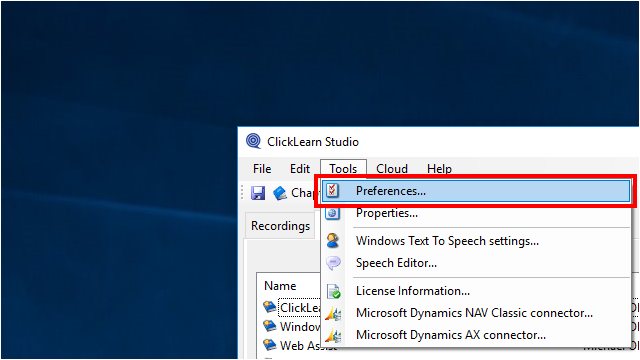
Click on the menu Preferences....
Click on the tab Tracking.

Click on the input field Tracking ID.
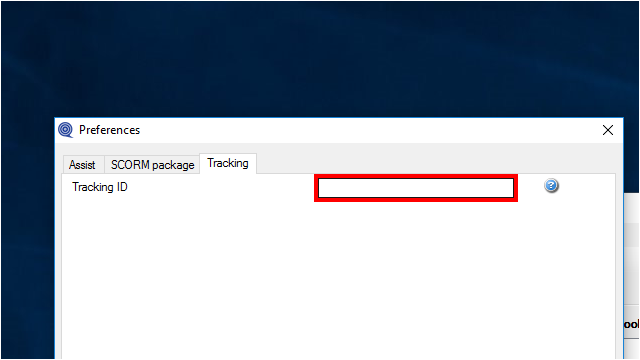
The Tracking ID must begin with SP- in upper case which tells ClickLearn to produce the ASPX files instead of the HTML files.
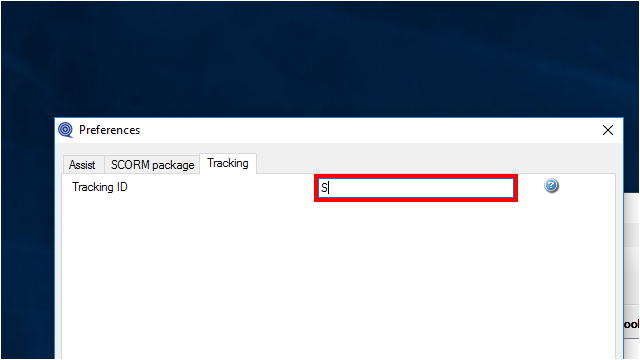
If a name is added after the SP- the produced content will be prepared to track users interaction with the content on the SharePoint site and add it to a SharePoint list named accordingly.
In this example we want tracking to be added to a list named CLTracking.
Enter Tracking ID.
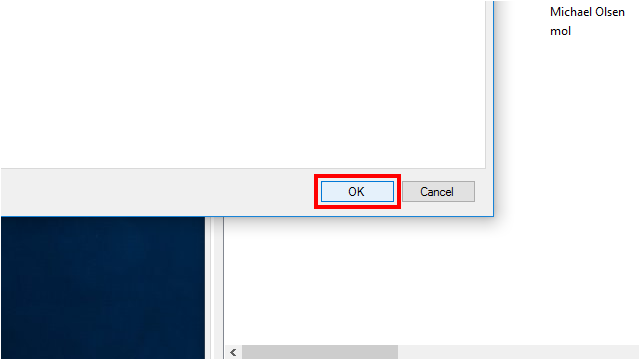
Click on the button OK.
You may also press Alt+O.
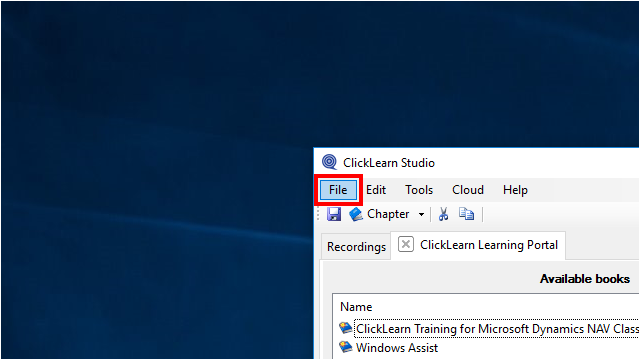
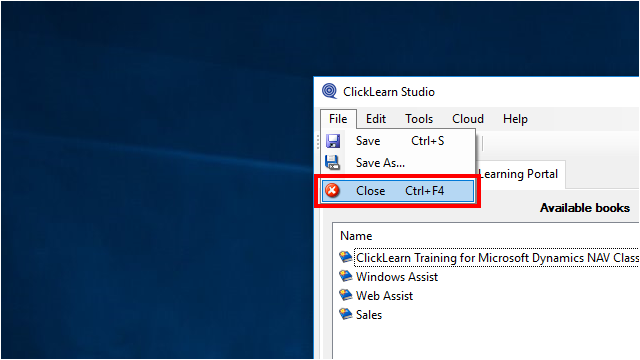
Click on the menu File.
You may also press Alt+F.
Click on the menu Close.
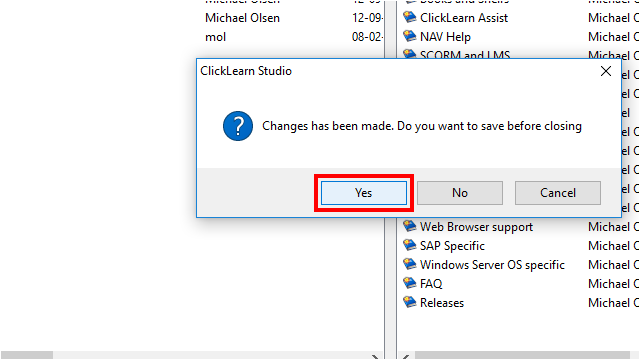
Click on the button Yes.
You may also press Alt+Y.
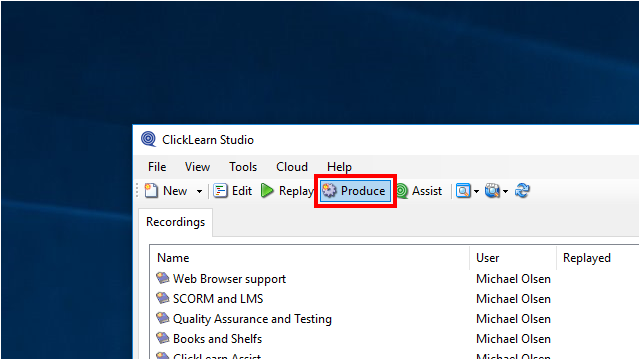
7.1.2 Produce
Click on the button Produce.
You may also press Alt+U.
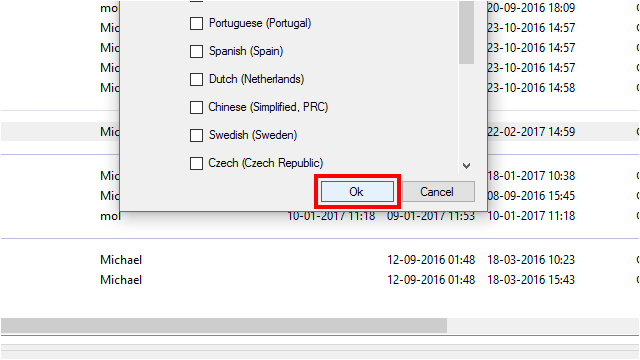
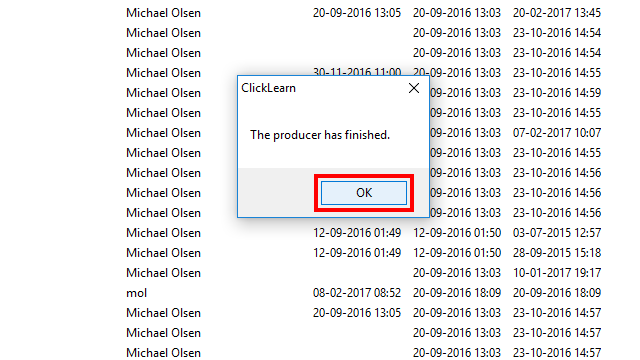
Click on the button Ok.
You may also press Alt+O.
Click on the button OK.
7.1.3 Copy all produced files
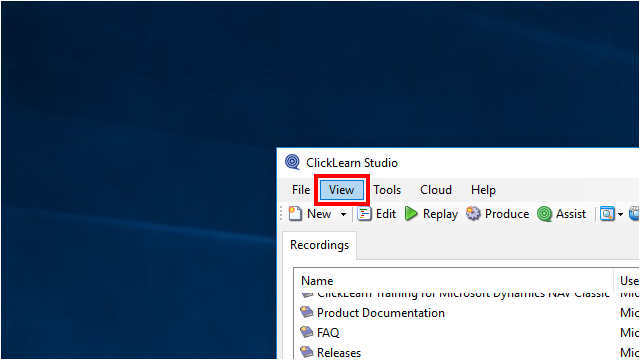
Click on the menu View.
You may also press Alt+V.
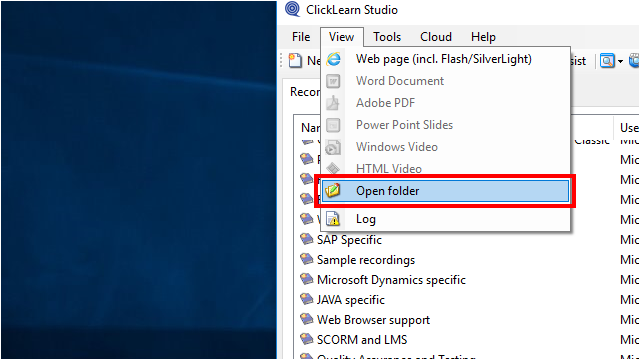
Click on the menu Open folder.
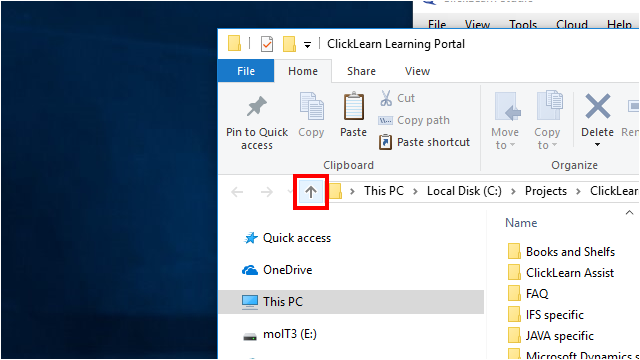
Click on the button Up to "Recordings" (Alt + Up Arrow).
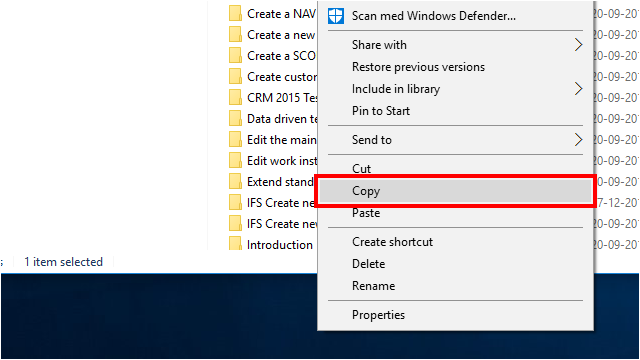
Right click on the input field Name.
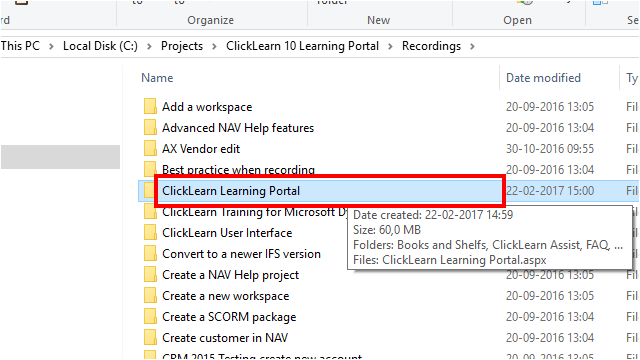
Click on the menu Copy.
7.1.4 Copy to SharePoint
If you are running a SharePoint online please make sure to setup allow users to run custom scripts on both personal and self-serviced sites.
This must be setup in the site administration and prior to uploading the content.
If you make the change it may take up to 24 hours before you can make the upload.
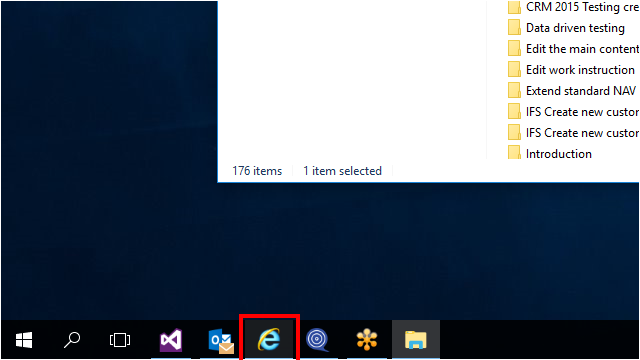
Click on the button Internet Explorer - 1 running window.
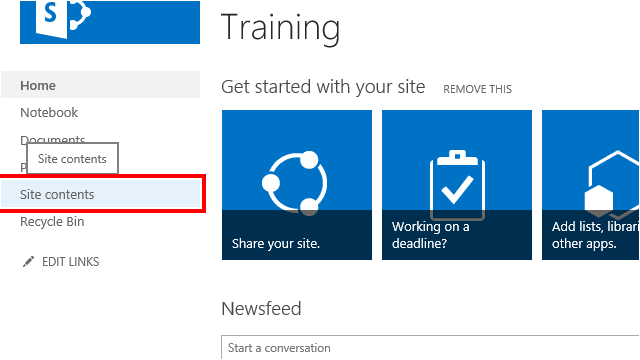
Click on the link Site contents
Click on the link Site Assets

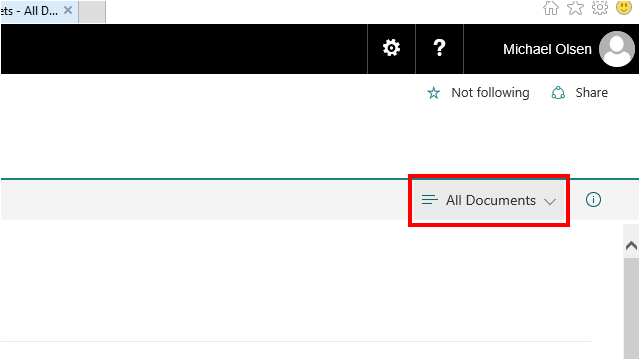
Click on All Documents
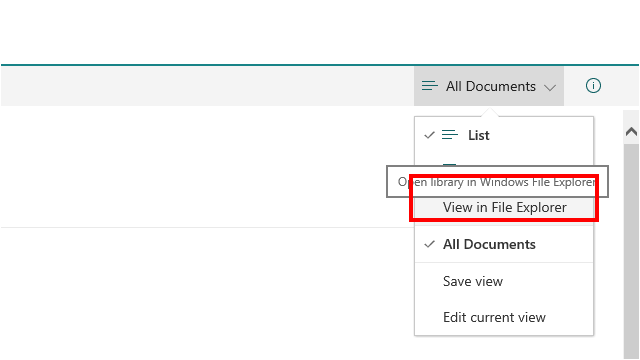
Click on the link Open library in Windows File Explorer
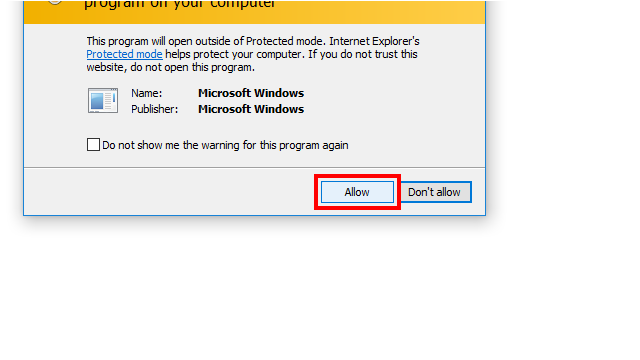
Click on the button Allow.
You may also press Alt+A.
Click on the button Paste.
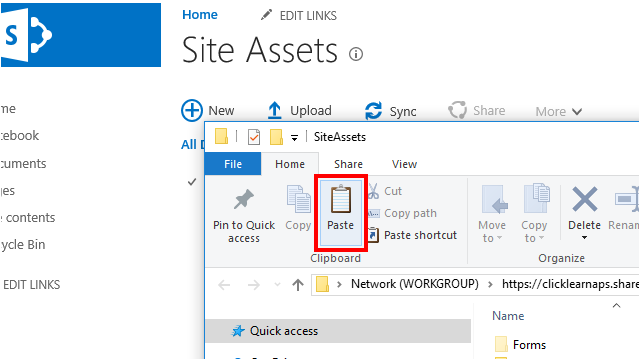
All files have now been copied to the SharePoint site in the library SiteAssets.